
Story + Facts = Win
Animation projects often start with insights or research that needs to be translated into a more digestible format. We won’t lie – not every piece of raw research data comes to us brimming with compelling story potential. But by taking the time to go deeper, to fully understand the data and the market context, the narratives that can excite your audience will reveal themselves.
Before you put pen to paper and reach out to an agency for help, there are a few points to consider.
- Who is your audience?
- What do you have to say?
- Why should people care about it?
- What messages and information do you want your audience to take away from it?
Getting clarity on these topics before engagement is critical to your agency, as it is important to understand your intent from the get go. We have included a simple animation brief form below to download that you can use to share with your agency or as means of gathering consensus across your team,
With your brief in hand, now is the time to engage an agency. Rather than your brief being 100% instructional, it is best used as a discussion document. Collaborating with your creative team at this stage can help identify new opportunities and address any bias or mental models that are clouding thinking. These conversations with your creative team can help find more connections, spot any gaps, or offer a different perspective.
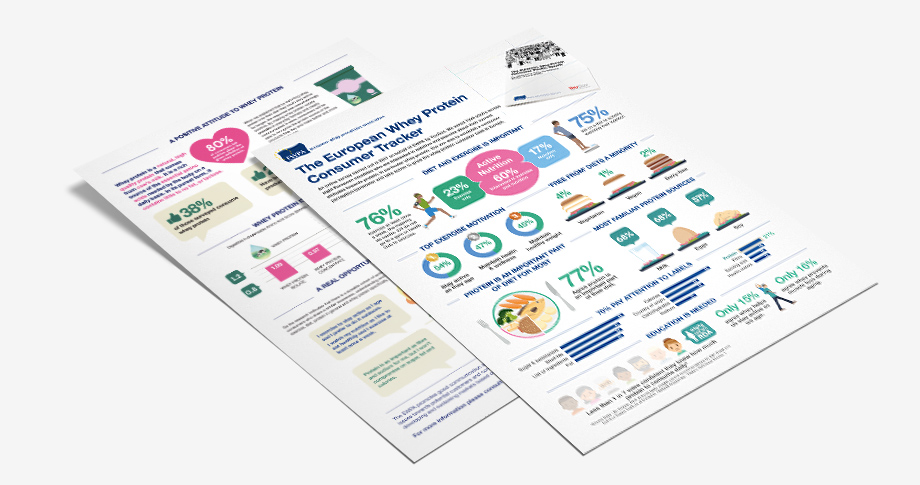
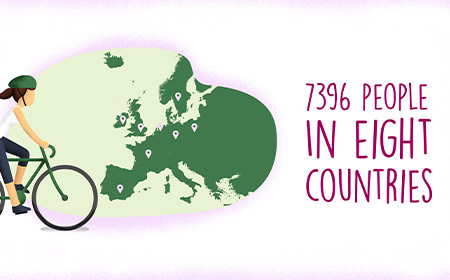
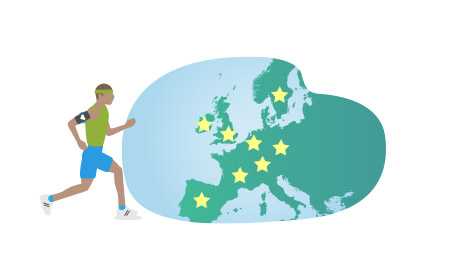
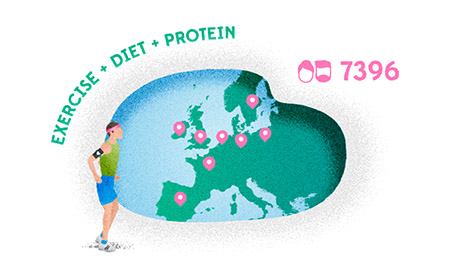
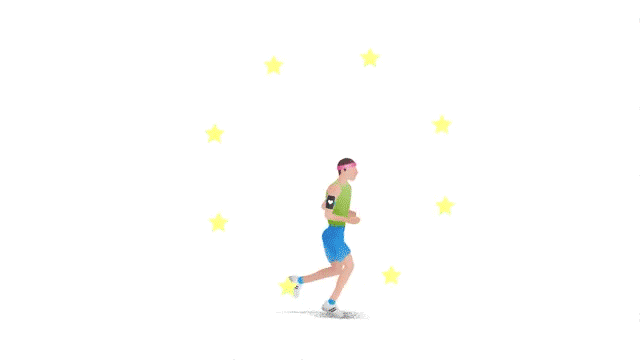
Let’s talk through some things to consider when managing an animation project – using an animation we did for the European Whey Producers Association as a case study. We hope you enjoy it.
You’re not going to believe this.
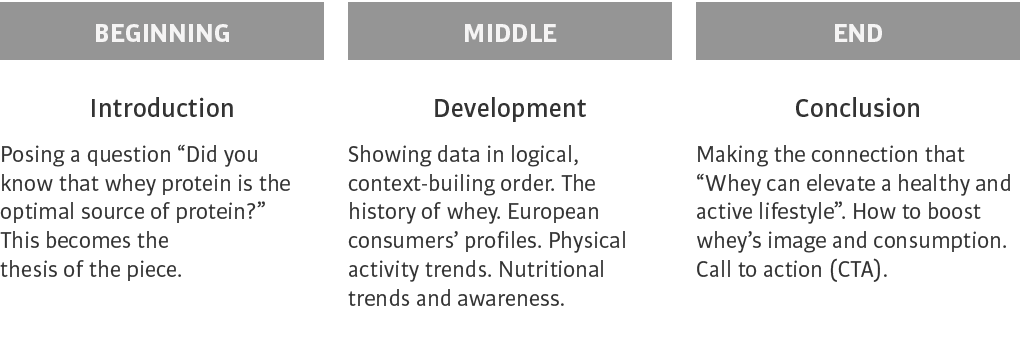
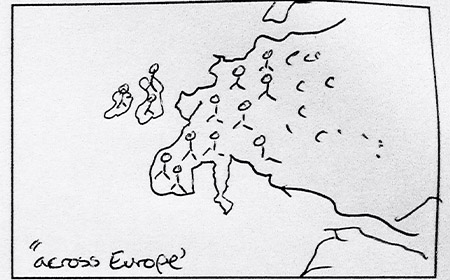
Here’s the thing, and we are running the risk of oversimplification here, but every story has a beginning, middle and an end. See example below from the EWPA project.
Make the right decision, at the right time.
Technically, motion design is a time-consuming process. A reasonable analogy is building a house. Making changes when planning and drawing is easy and inexpensive but changes later in the game consume disproportionate amounts of the budget. This means the sequencing of planning, script development, storyboarding and design needs to be carefully managed – with critical decision gates and approvals along the way. It’s imperative to nail the script and to consider every element of it from the start.
Sprint or marathon? Considering the run time
It’s important to be aware of the target length of your motion design or video project. There is a sweet spot in terms of timing. It sits at the intersection of what is appropriate for your audience (which will vary by platform) and how long it takes you to get the message across. The most important of these two is what your audience will consume – you need to flex to communicate the critical messaging across in a way that works for them. A point to consider here is view duration, for videos on YouTube, you can lose about 50% of the audience before the halfway mark. So you need to get the critical information in early.
The best way to estimate the run time is to read through the script at a desired pace and time how long it takes. Knowing the estimated run time will help set the right mindset for the project stakeholders, ease time management and planning.
Depending on the platform, some run times will be limited e.g. Instagram video post can be 1 minute long, unless you have the IGTV Channel while others are more open (YouTube, Vimeo). If you’re creating a project for a particular platform, be aware of those limitations.
Voice or Subtitle – or both?
Should the script be turned into a voiceover, and / or subtitles added? Research shows that using video with voiceover is more effective at conveying the message to the viewer. That is because our brains can process more information in an audio-visual experience, than in a purely visual or auditory one. Viewers bore quickly, and using the two channels together can communicate more information in shorter amount of time. When it comes to words, simple and concise is key – especially when producing for an international audience. So, work hard to cut the word count down, avoid repeating words and find simpler ways of saying things. Remember that visuals are going to help with the heavy lifting. If you’re producing a video for an exhibition, then consider the noisy environment, and just let the graphics do the talking.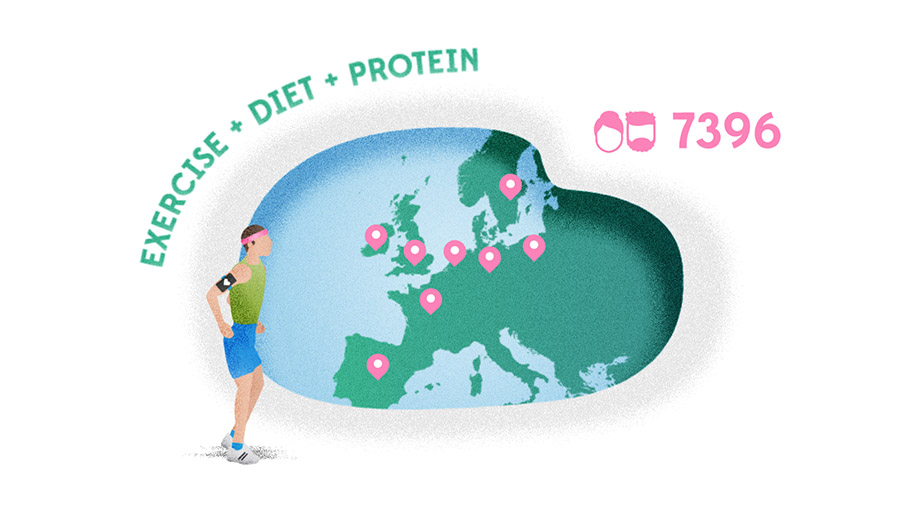
Script ready? What next?
The next stage is to join it with visuals, first by using a storyboard. Storyboarding is an important stage that matches pieces of the script with their respective visuals. It also gives an opportunity to develop the look and feel of the piece. Design considerations like use of technical styles, blocks of colour, accessible cartoon, stop motion, or evocative tasteful textures can enhance the overall experience. Your design team will find an appropriate style and create a rationale for it.
When this is agreed upon and done, the next step is to create an animatic – an animated version of the storyboard. The animatic is the best way to check if the timing and pace are right.
Putting things in motion
Using the animatic as a template, the motion design part of the projects really starts. Any given piece of visual is called a “frame”, while what happens in between frames is called a “transition”. Transitions are a very important part of the design, as they tie in elements from the frames together and create a sense of dynamism in a motion design project. The end result is an animation that is on-brand, concise, informative and thought-provoking for your audience.]
Now, leverage it for all its worth!
Motion design projects tend to deal with new information, the project can become a rich source of visuals you can use in whitepapers, websites, posters, flyers, reports, and neat little social media factoids.